Install
|
Nexus Repository Manager (a repository manager to store your artifacts)
- References
- Installation
- Server administration and configuration
- Maven configuration (".m2/settings.xml")
- Deploy a Maven artifact to Nexus
- Create a new repository
-
References
See this page for more details about Nexus: https://books.sonatype.com/nexus-book/reference3/
Prerequisites: -
Installation
Download Nexus: https://www.sonatype.com/download-oss-sonatype
Extract the file "nexus-3.18.0-01-unix.tar.gz" in the folder you want to install Nexus: /opt/nexus-3.18.0-01
$ tar -xf ~/Downloads/nexus-3.18.0-01-unix.tar.gz -C /opt/
Change folders permissions:
$ sudo chmod -R 755 /opt/nexus-3.18.0-01/
$ sudo chown -R mtitek:mtitek /opt/nexus-3.18.0-01/

$ sudo chmod -R 755 /opt/sonatype-work/
$ sudo chown -R mtitek:mtitek /opt/sonatype-work/
Create a symbolic link:$ sudo ln -s /opt/nexus-3.18.0-01/ /opt/nexus $ sudo chown -R mtitek:mtitek /opt/nexus
You should replace mtitek:mtitek with your actual user/group names.
Change the user who run Nexus:
$ vi /opt/nexus/bin/nexus

run_as_user='mtitek'
Setup the nexus home environemnt variable:
$ vi .profile

export NEXUS_HOME=/opt/nexus
export PATH=$PATH:$NEXUS_HOME/bin
Load ".profile" environment variables:$ source ~/.profile
Start Nexus:
$ /opt/nexus/bin/nexus start
Access the default page of Nexus: http://localhost:8081
Other Nexus commands:
Usage: /opt/nexus/bin/nexus {start|stop|run|run-redirect|status|restart|force-reload}
Log directory:
$ ls -al /opt/sonatype-work/nexus3/log
-
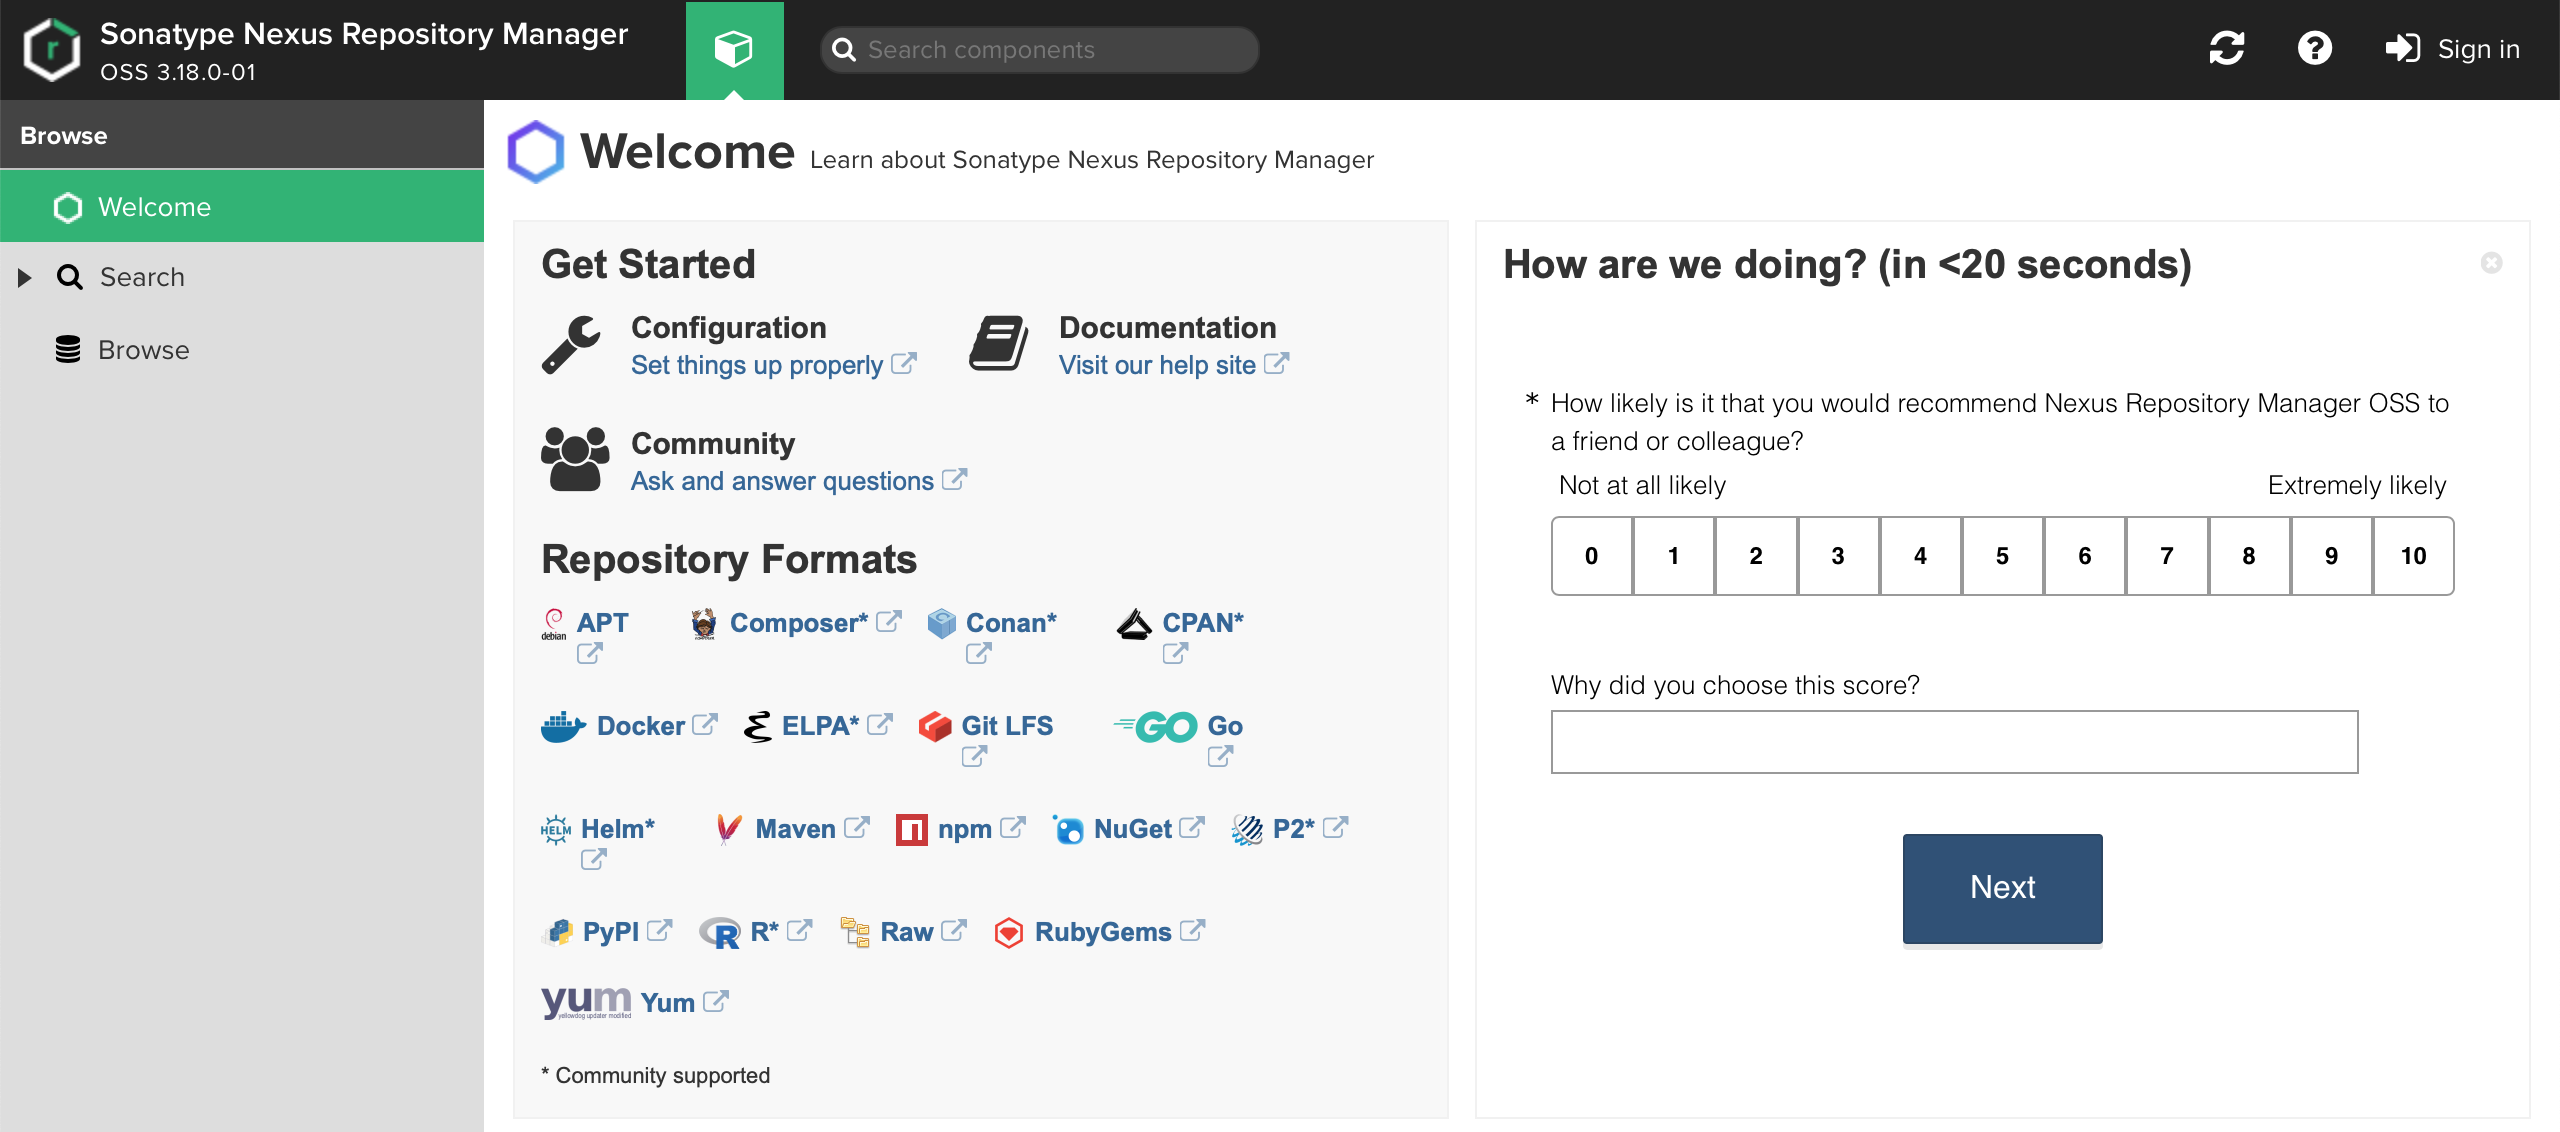
Server administration and configuration
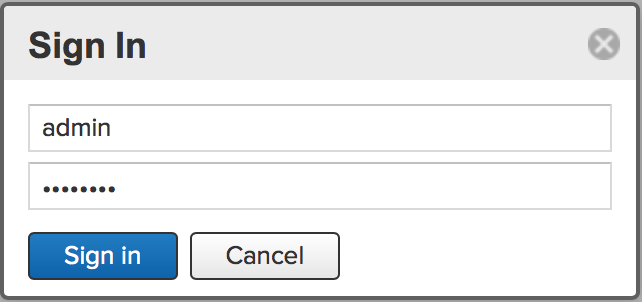
To access the "
Server administration and configuration" page you must "Sign In".
The default "admin" password can be found in this file: "/opt/sonatype-work/nexus3/admin.password"
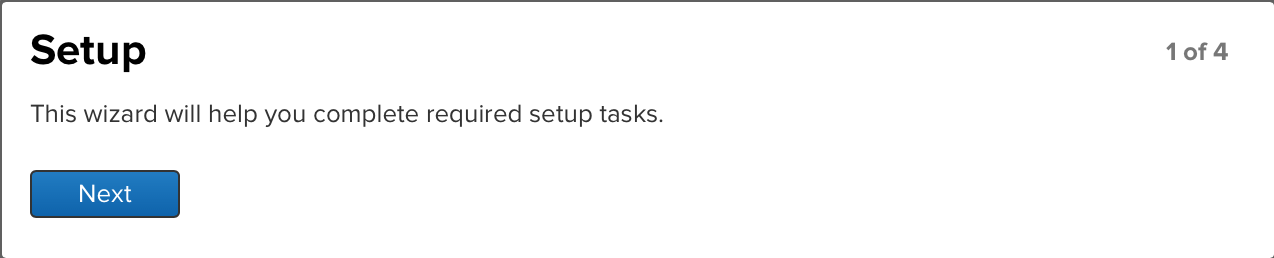
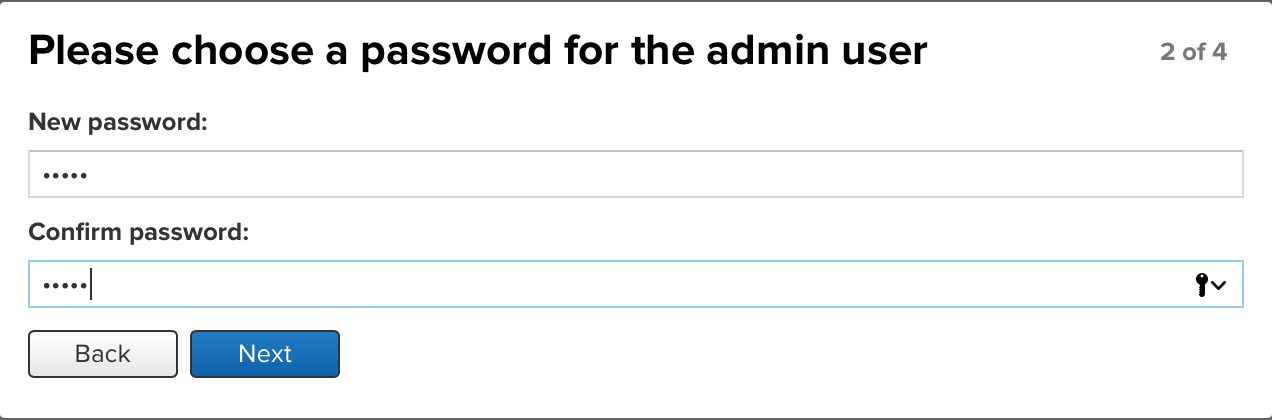
The first time you sign-in, you will see a wizard that will help you complete required setup tasks:
- Setup:
- Choose a password for the admin user:
- Configure Anonymous Access:
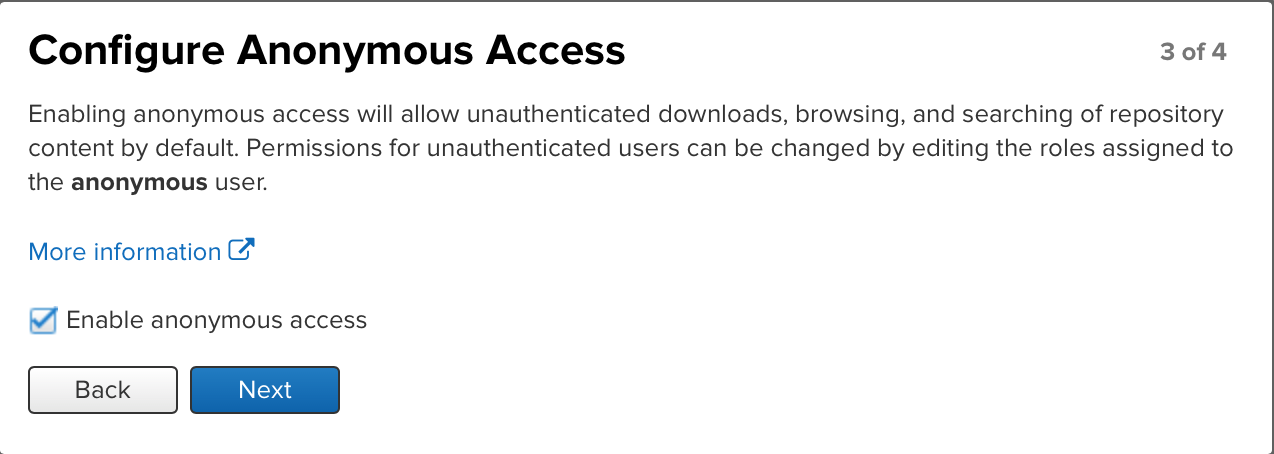
- Complete:
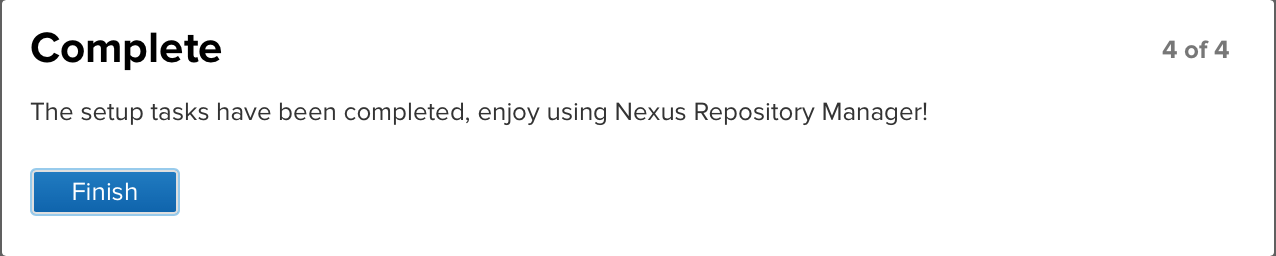

- Setup:
-
Maven configuration (".m2/settings.xml")
-
Add a "
mirror" element (inside element<mirrors>):
<mirror>
    <id>nexus</id>
    <mirrorOf>*</mirrorOf>
    <url>http://localhost:8081/repository/maven-public/</url>
</mirror>
-
Add "
server" elements for Snapshots/Releases (inside element<servers>) You can define only one if you want to use one configuration for both snapshots and releases. The default "admin" password can be found in this file: "/opt/sonatype-work/nexus3/admin.password"
<server>
    <id>httpNexusSnapshots</id>
    <username>admin</username>
    <password>admin</password>
</server>

<server>
    <id>httpNexusReleases</id>
    <username>admin</username>
    <password>admin</password>
</server>
-
Add a "
profile" element for nexus repositories (inside element<profiles>):
<profile>
    <id>nexus</id>

    <repositories>
        <repository>
            <id>central</id>
            <url>http://central</url>
            <releases>
                <enabled>true</enabled>
            </releases>
            <snapshots>
                <enabled>true</enabled>
            </snapshots>
        </repository>
    </repositories>

    <pluginRepositories>
        <pluginRepository>
            <id>central</id>
            <url>http://central</url>
            <releases>
                <enabled>true</enabled>
            </releases>
            <snapshots>
                <enabled>true</enabled>
            </snapshots>
        </pluginRepository>
    </pluginRepositories>
</profile>
-
Add an "
activeProfile" element:
<activeProfiles>
    <activeProfile>nexus</activeProfile>
</activeProfiles>
-
Add a "
-
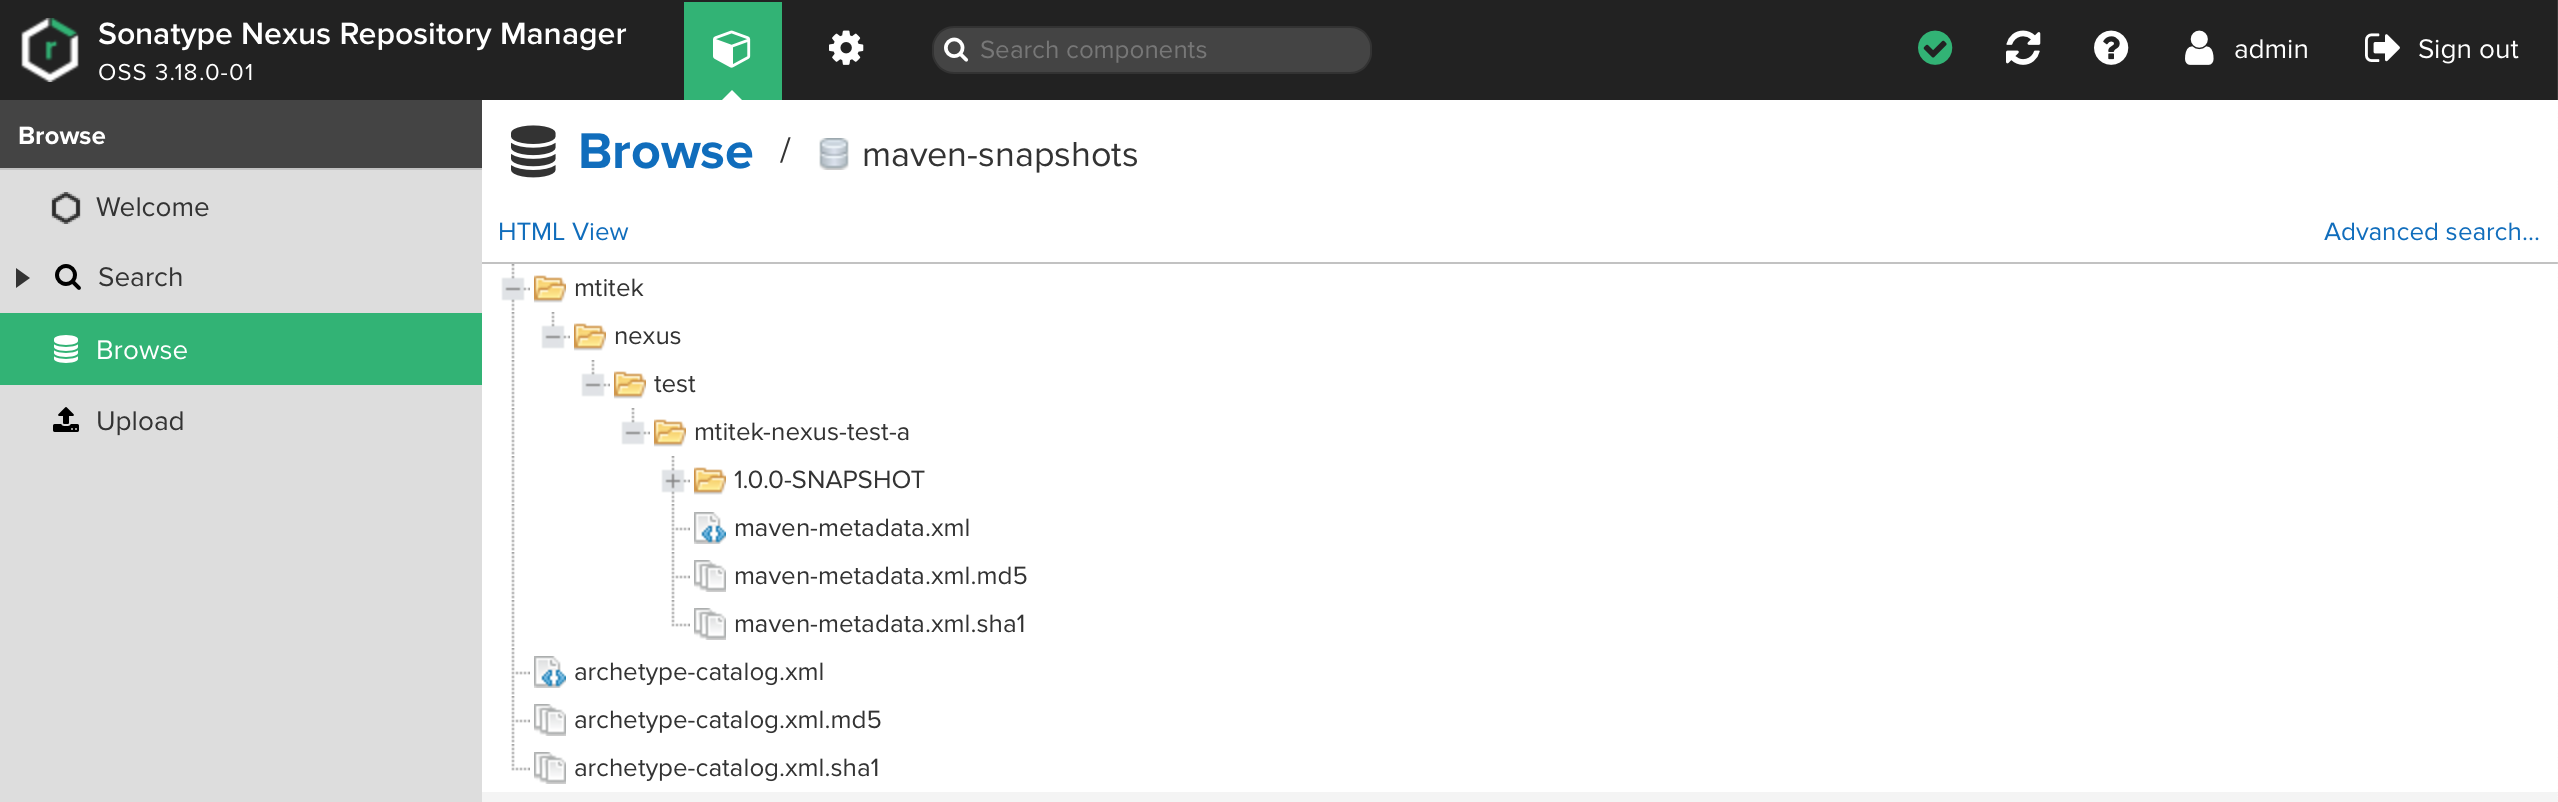
Deploy a Maven artifact to Nexus
Create a local directory that will hold the maven project:
$ sudo mkdir /data/workspace

$ sudo chmod -R 755 /data/workspace/
$ sudo chown -R mtitek:mtitek /data/workspace/
Run the following command "mvn archetype:generate" to create the maven project:
$ cd /data/workspace/

$ mvn archetype:generate \
-DarchetypeGroupId=org.apache.maven.archetypes \
-DarchetypeArtifactId=maven-archetype-quickstart \
-DarchetypeVersion=1.4 \
-DgroupId=mtitek.nexus.test \
-DartifactId=mtitek-nexus-test-a \
-Dpackage=mtitek.nexus.test \
-Dversion=1.0.0-SNAPSHOT \
-DinteractiveMode=false
Configure the "pom.xml" file of the project "mtitek-nexus-test-a".
Add a "distributionManagement" element to configure the nexus repositories Snapshots and Releases:
$ cd /data/workspace/mtitek-nexus-test-a/

$ vi pom.xml
<distributionManagement>
    <snapshotRepository>
        <id>httpNexusSnapshots</id>
        <name>Snapshots repository</name>
        <url>http://localhost:8081/repository/maven-snapshots</url>
    </snapshotRepository>

    <repository>
        <id>httpNexusReleases</id>
        <name>Releases repository</name>
        <url>http://localhost:8081/repository/maven-releases</url>
    </repository>
</distributionManagement>
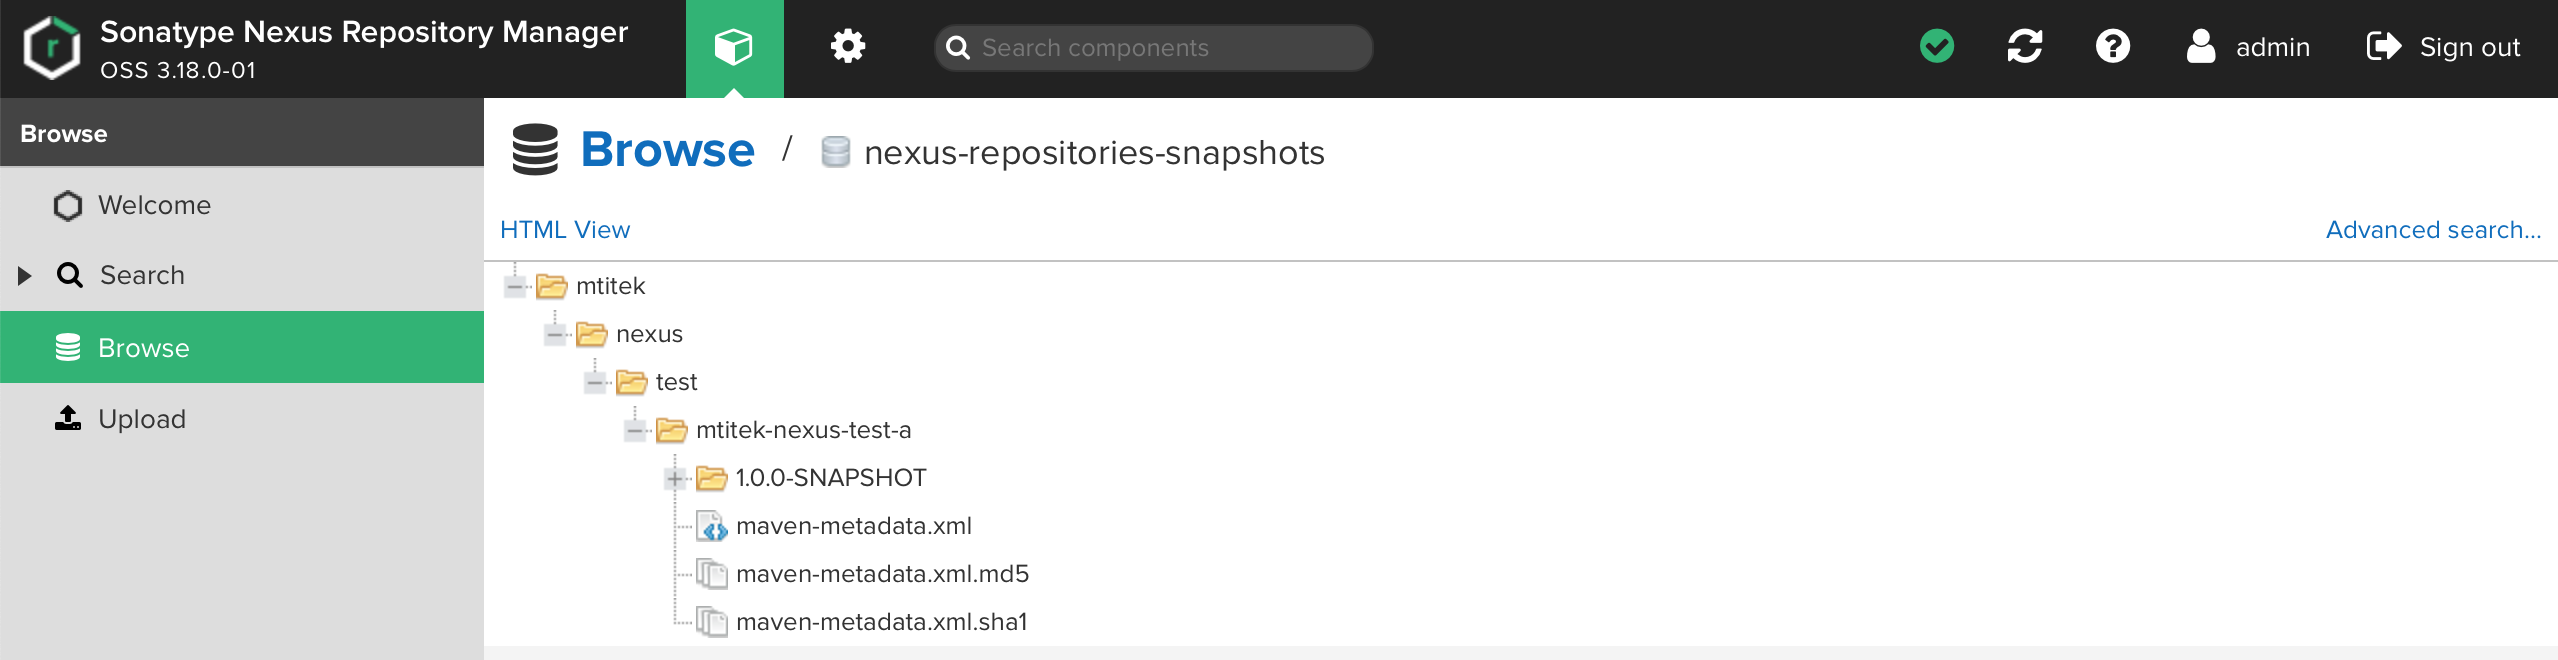
Run the follwoing maven command to deploy the maven artifact to nexus:
$ mvn deploy
[INFO] --- maven-deploy-plugin:2.8.2:deploy (default-deploy) @ mtitek-nexus-test-a ---

Uploading to httpNexusSnapshots: http://localhost:8081/repository/maven-snapshots/mtitek/nexus/test/mtitek-nexus-test-a/1.0.0-SNAPSHOT/mtitek-nexus-test-a-1.0.0-20161119.020742-1.jar

Uploading to httpNexusSnapshots: http://localhost:8081/repository/maven-snapshots/mtitek/nexus/test/mtitek-nexus-test-a/1.0.0-SNAPSHOT/mtitek-nexus-test-a-1.0.0-20161119.020742-1.pom

Uploading to httpNexusSnapshots: http://localhost:8081/repository/maven-snapshots/mtitek/nexus/test/mtitek-nexus-test-a/1.0.0-SNAPSHOT/maven-metadata.xml

Uploading to httpNexusSnapshots: http://localhost:8081/repository/maven-snapshots/mtitek/nexus/test/mtitek-nexus-test-a/maven-metadata.xml
-
Create a new repository
- Create folders for the "snapshots" and "releases" repositories:
$ sudo mkdir /data/nexus-repositories /data/nexus-repositories/snapshots /data/nexus-repositories/releases

$ sudo chmod -R 775 /data/nexus-repositories
$ sudo chown -R mtitek:mtitek /data/nexus-repositories
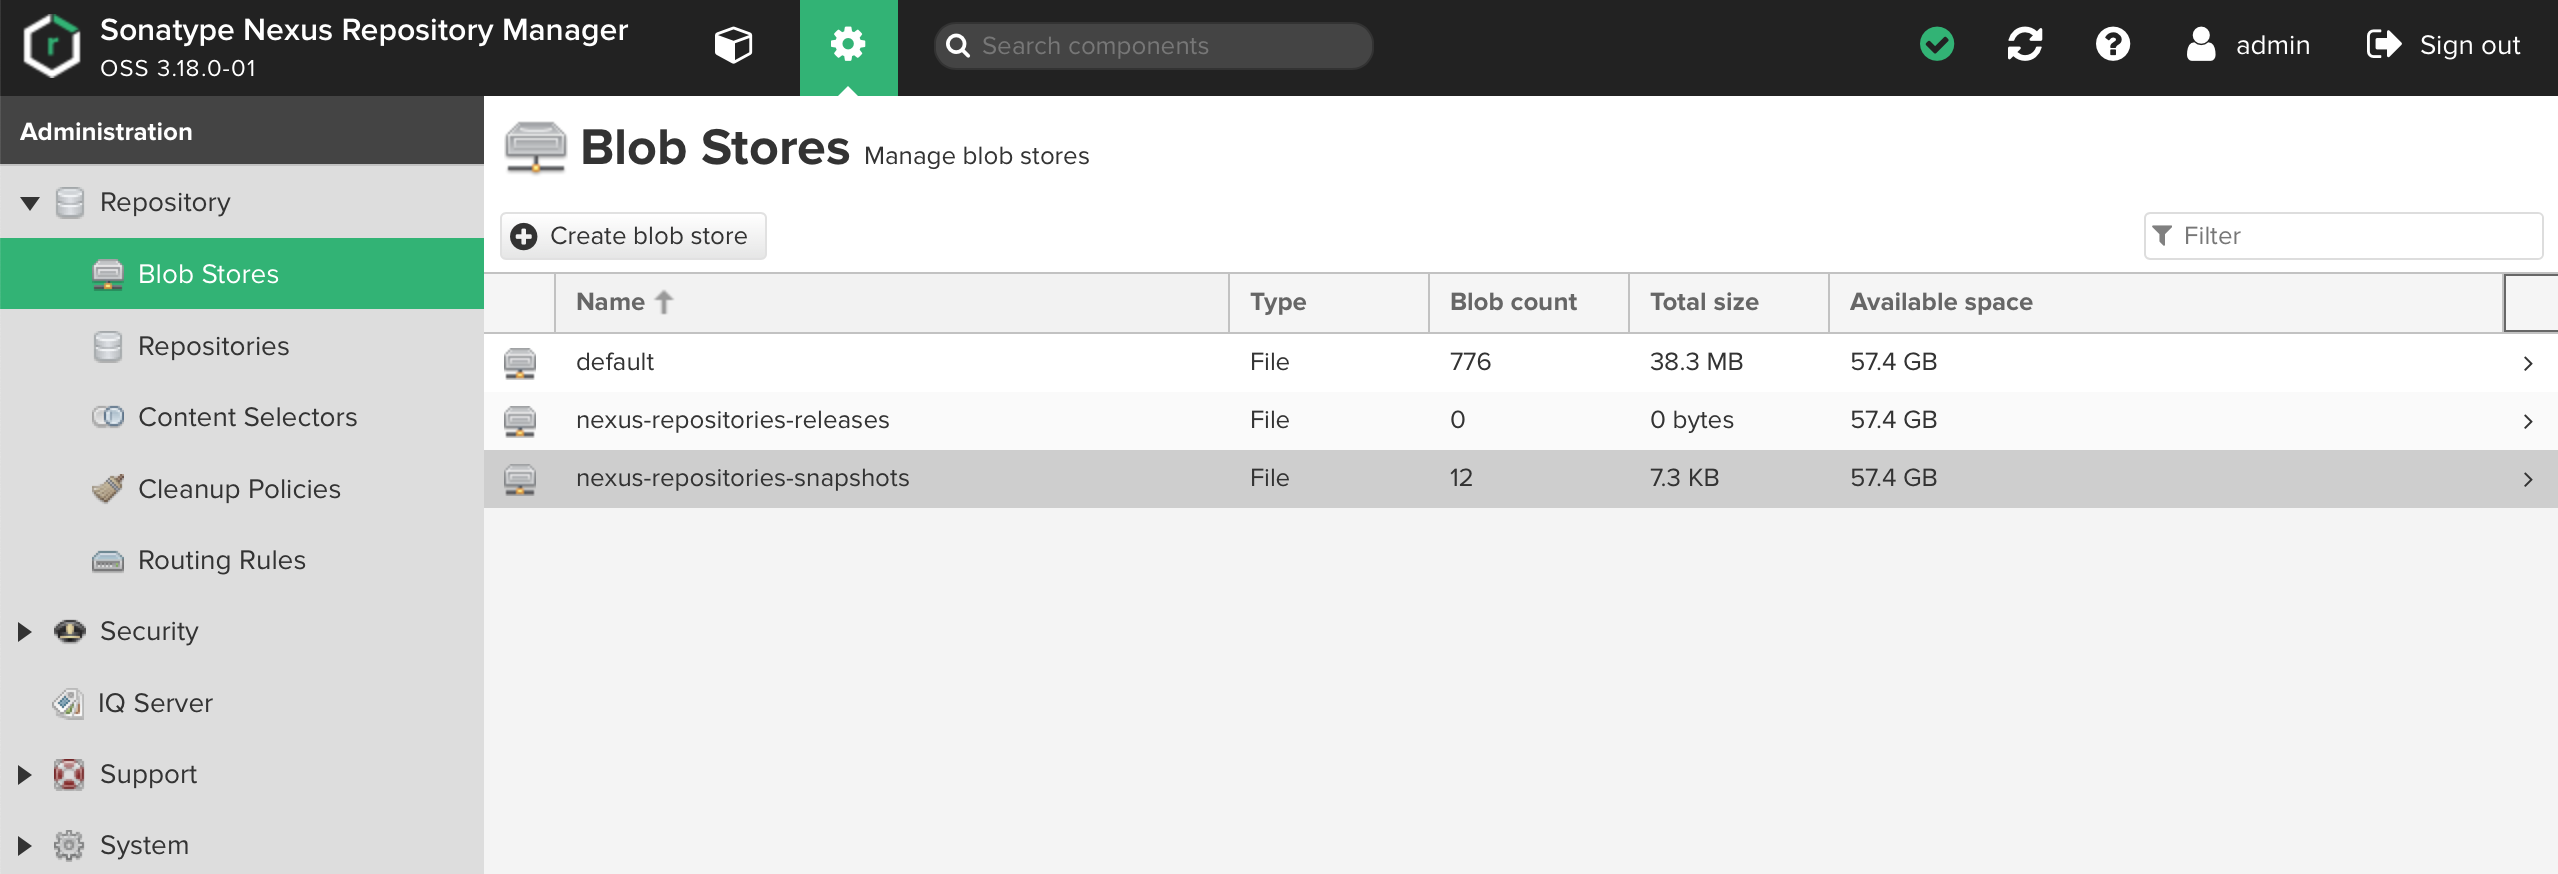
- Follow the following steps to setup a blob store:
- Connect to Nexus Repository Manager (login with "
admin"). - Click the "
Server administration and configuration" link. - Click the "
Repository" link. - Click the "
Blob Stores" link. - Click the "
Create blob store" button. - Select the "
Type" and enter a "Name" and a "Path" for the blob store. - Click the "
Create blob store" button to save your configuration.
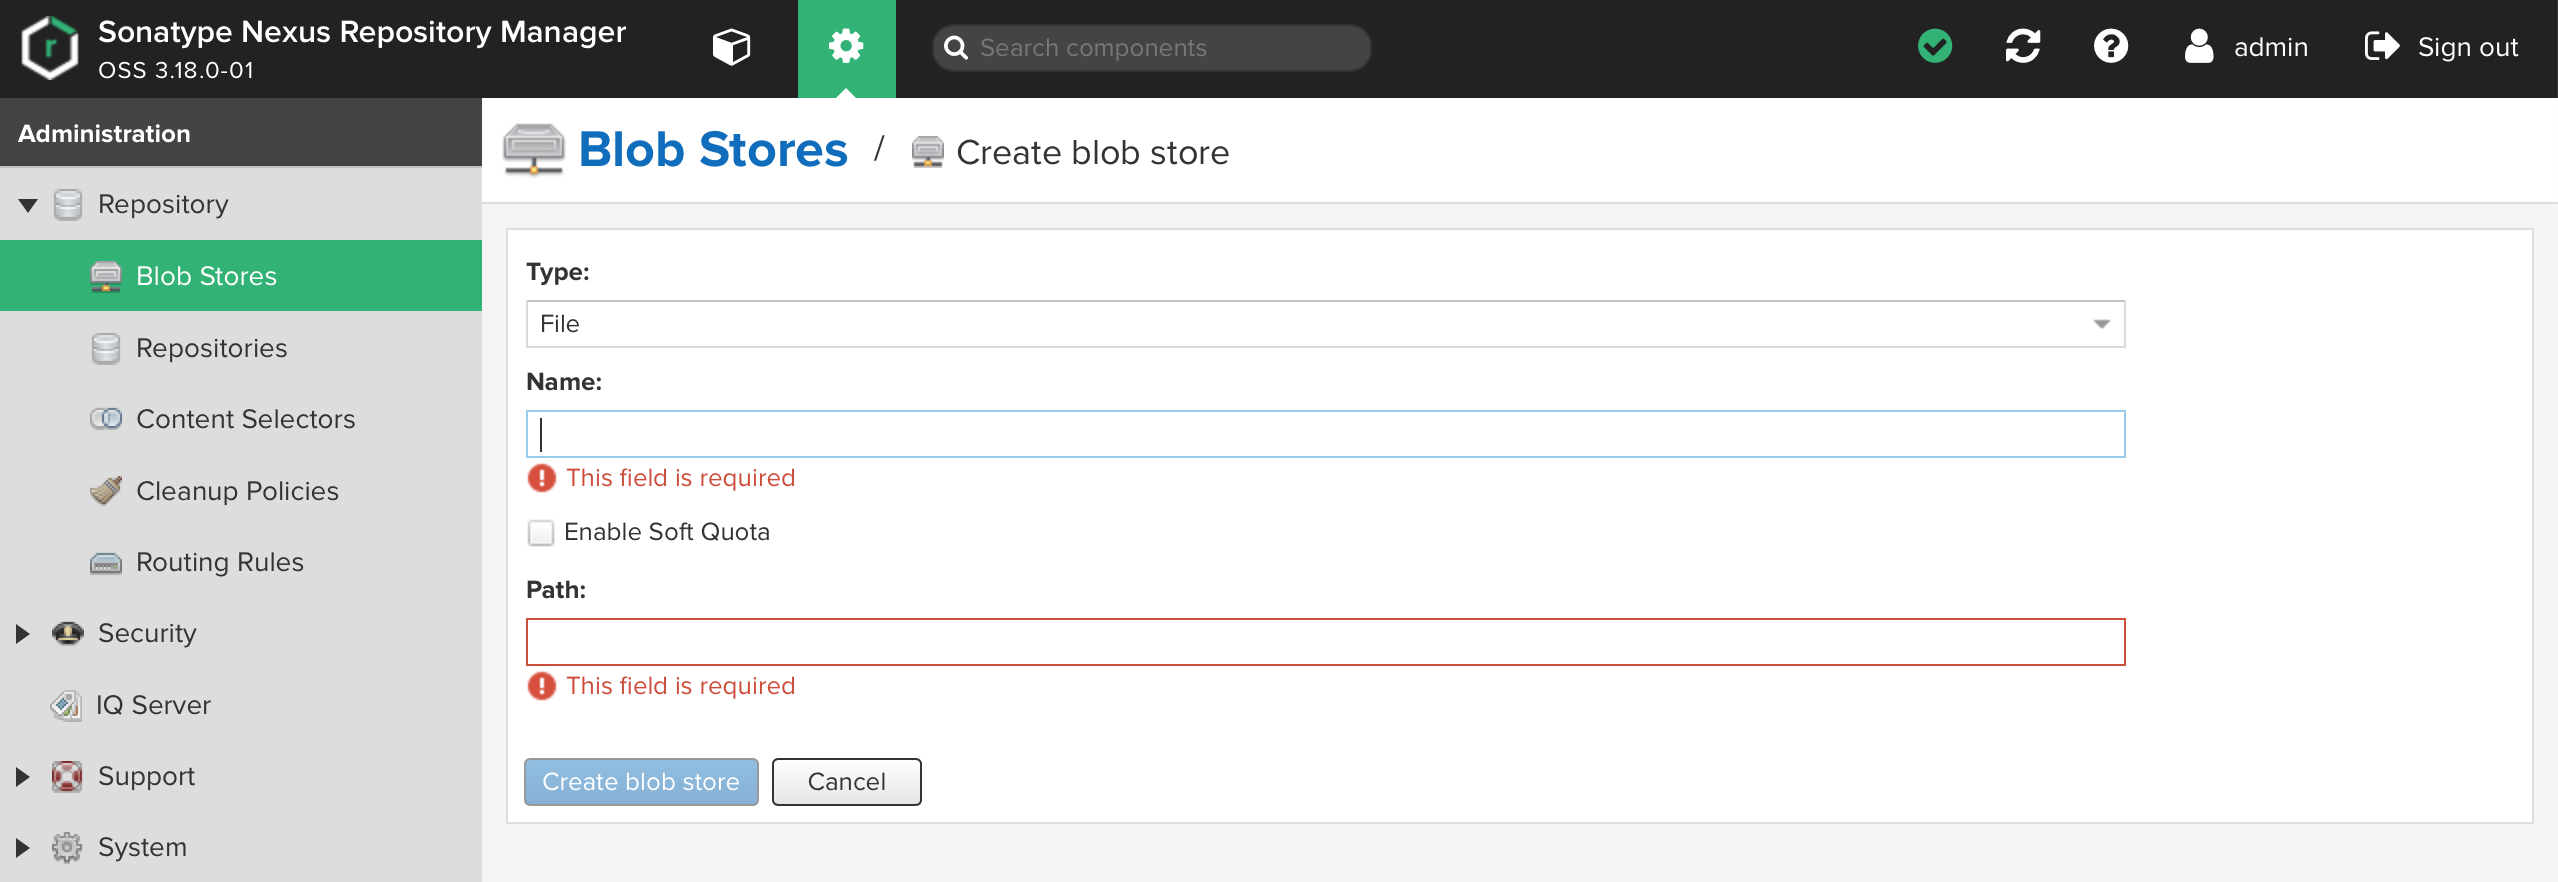
Here are the fields to configure for both the snapshots and releases blob stores.
Type: File
Name: nexus-repositories-snapshots
Path: /data/nexus-repositories/snapshots
Type: File
Name: nexus-repositories-releases
Path: /data/nexus-repositories/releases
- Connect to Nexus Repository Manager (login with "
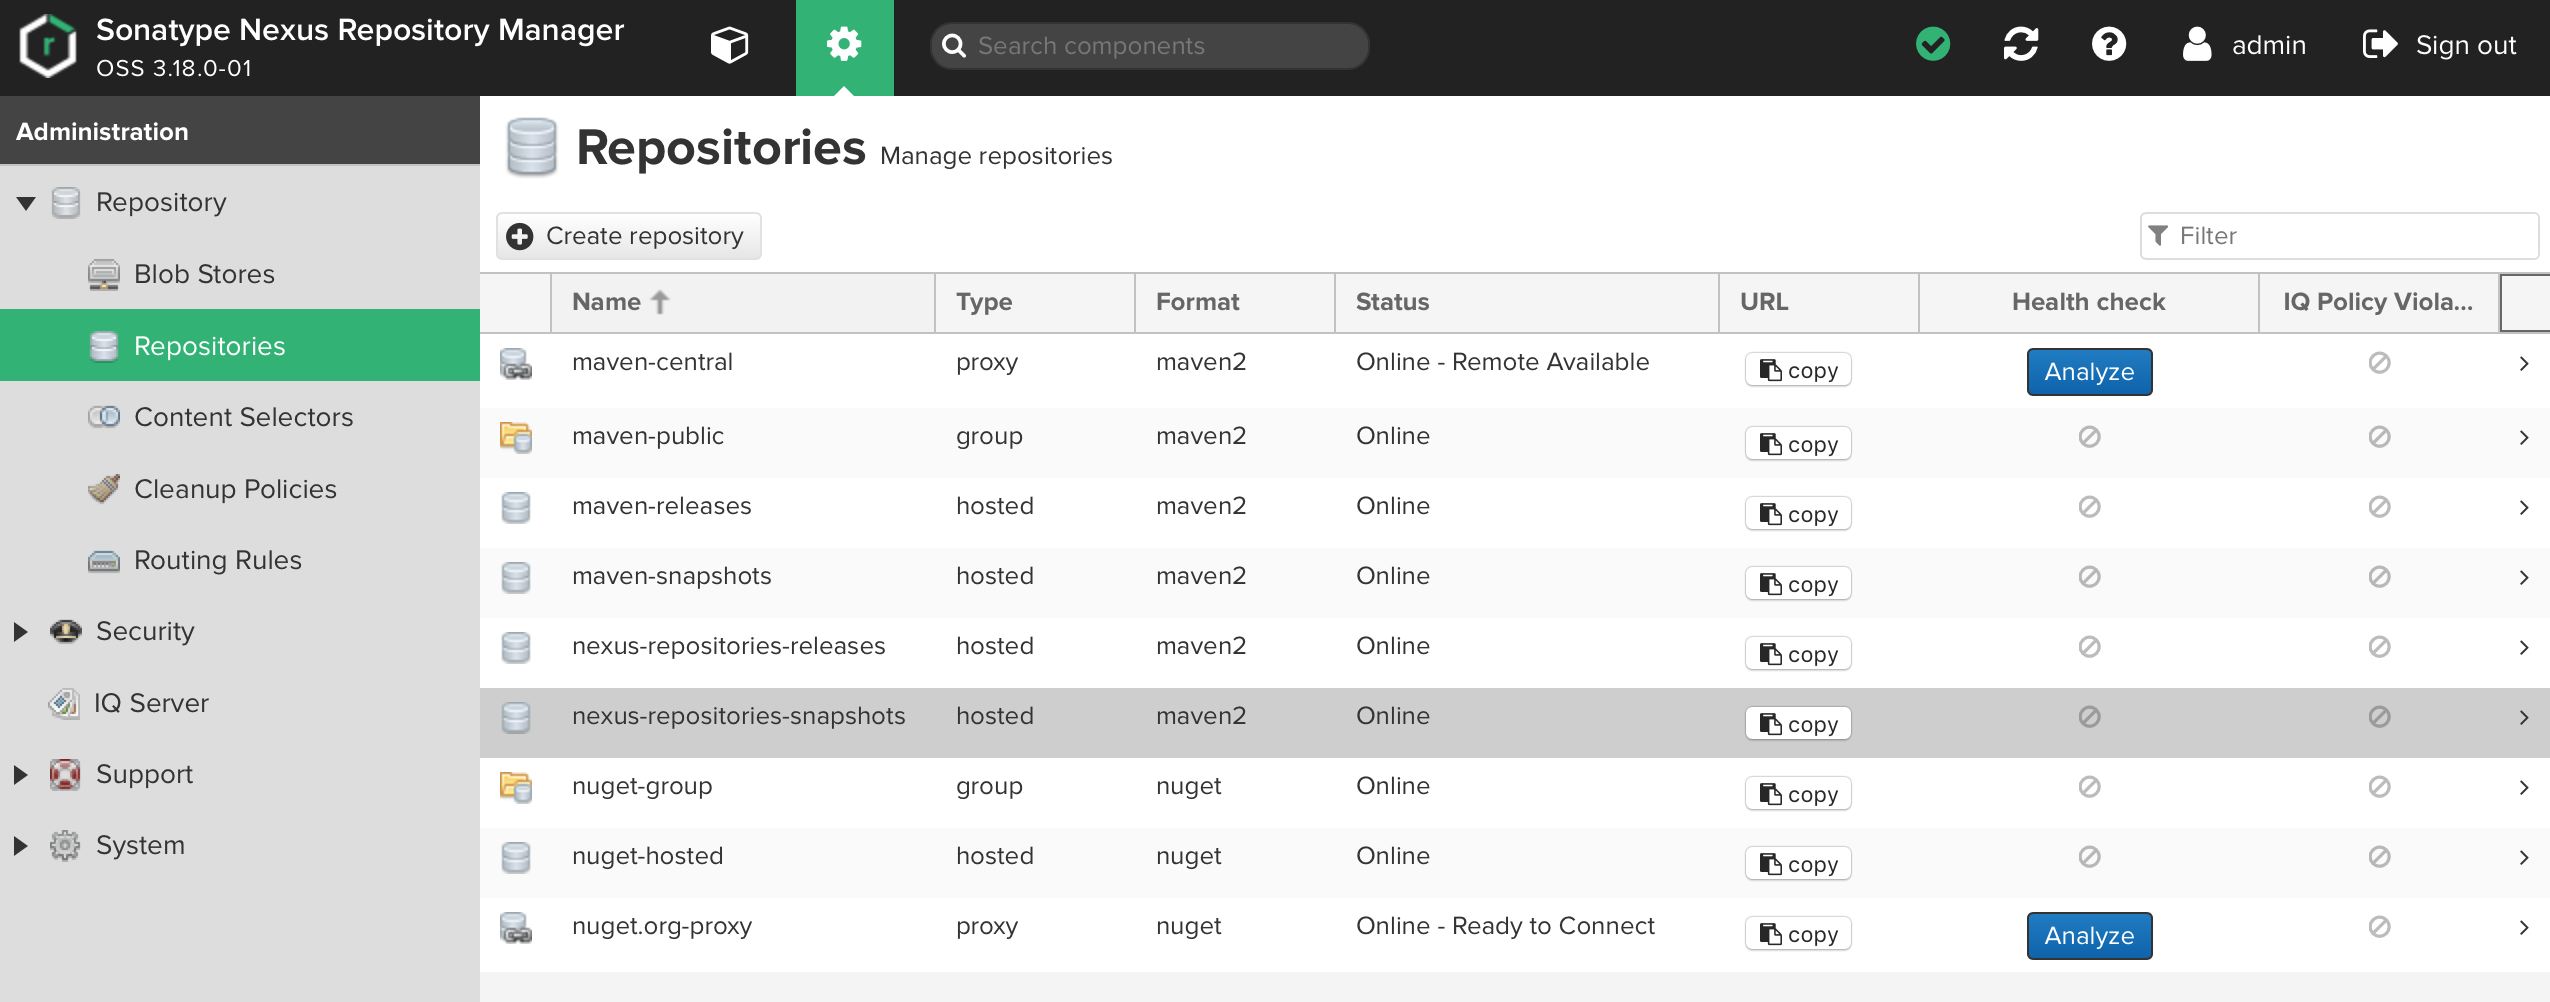
- Follow the following steps to setup the repositories:
- Click the "
Server administration and configuration" link. - Click the "
Repository" link. - Click the "
Repositories" link. - Click the "
Create repository" button. - Click the "
maven2 (hosted)" link. - Enter a "
Name" and Select the "Version policy" and a "Blob store" for the repository. - Click the "
Create repository" button to save your configuration.
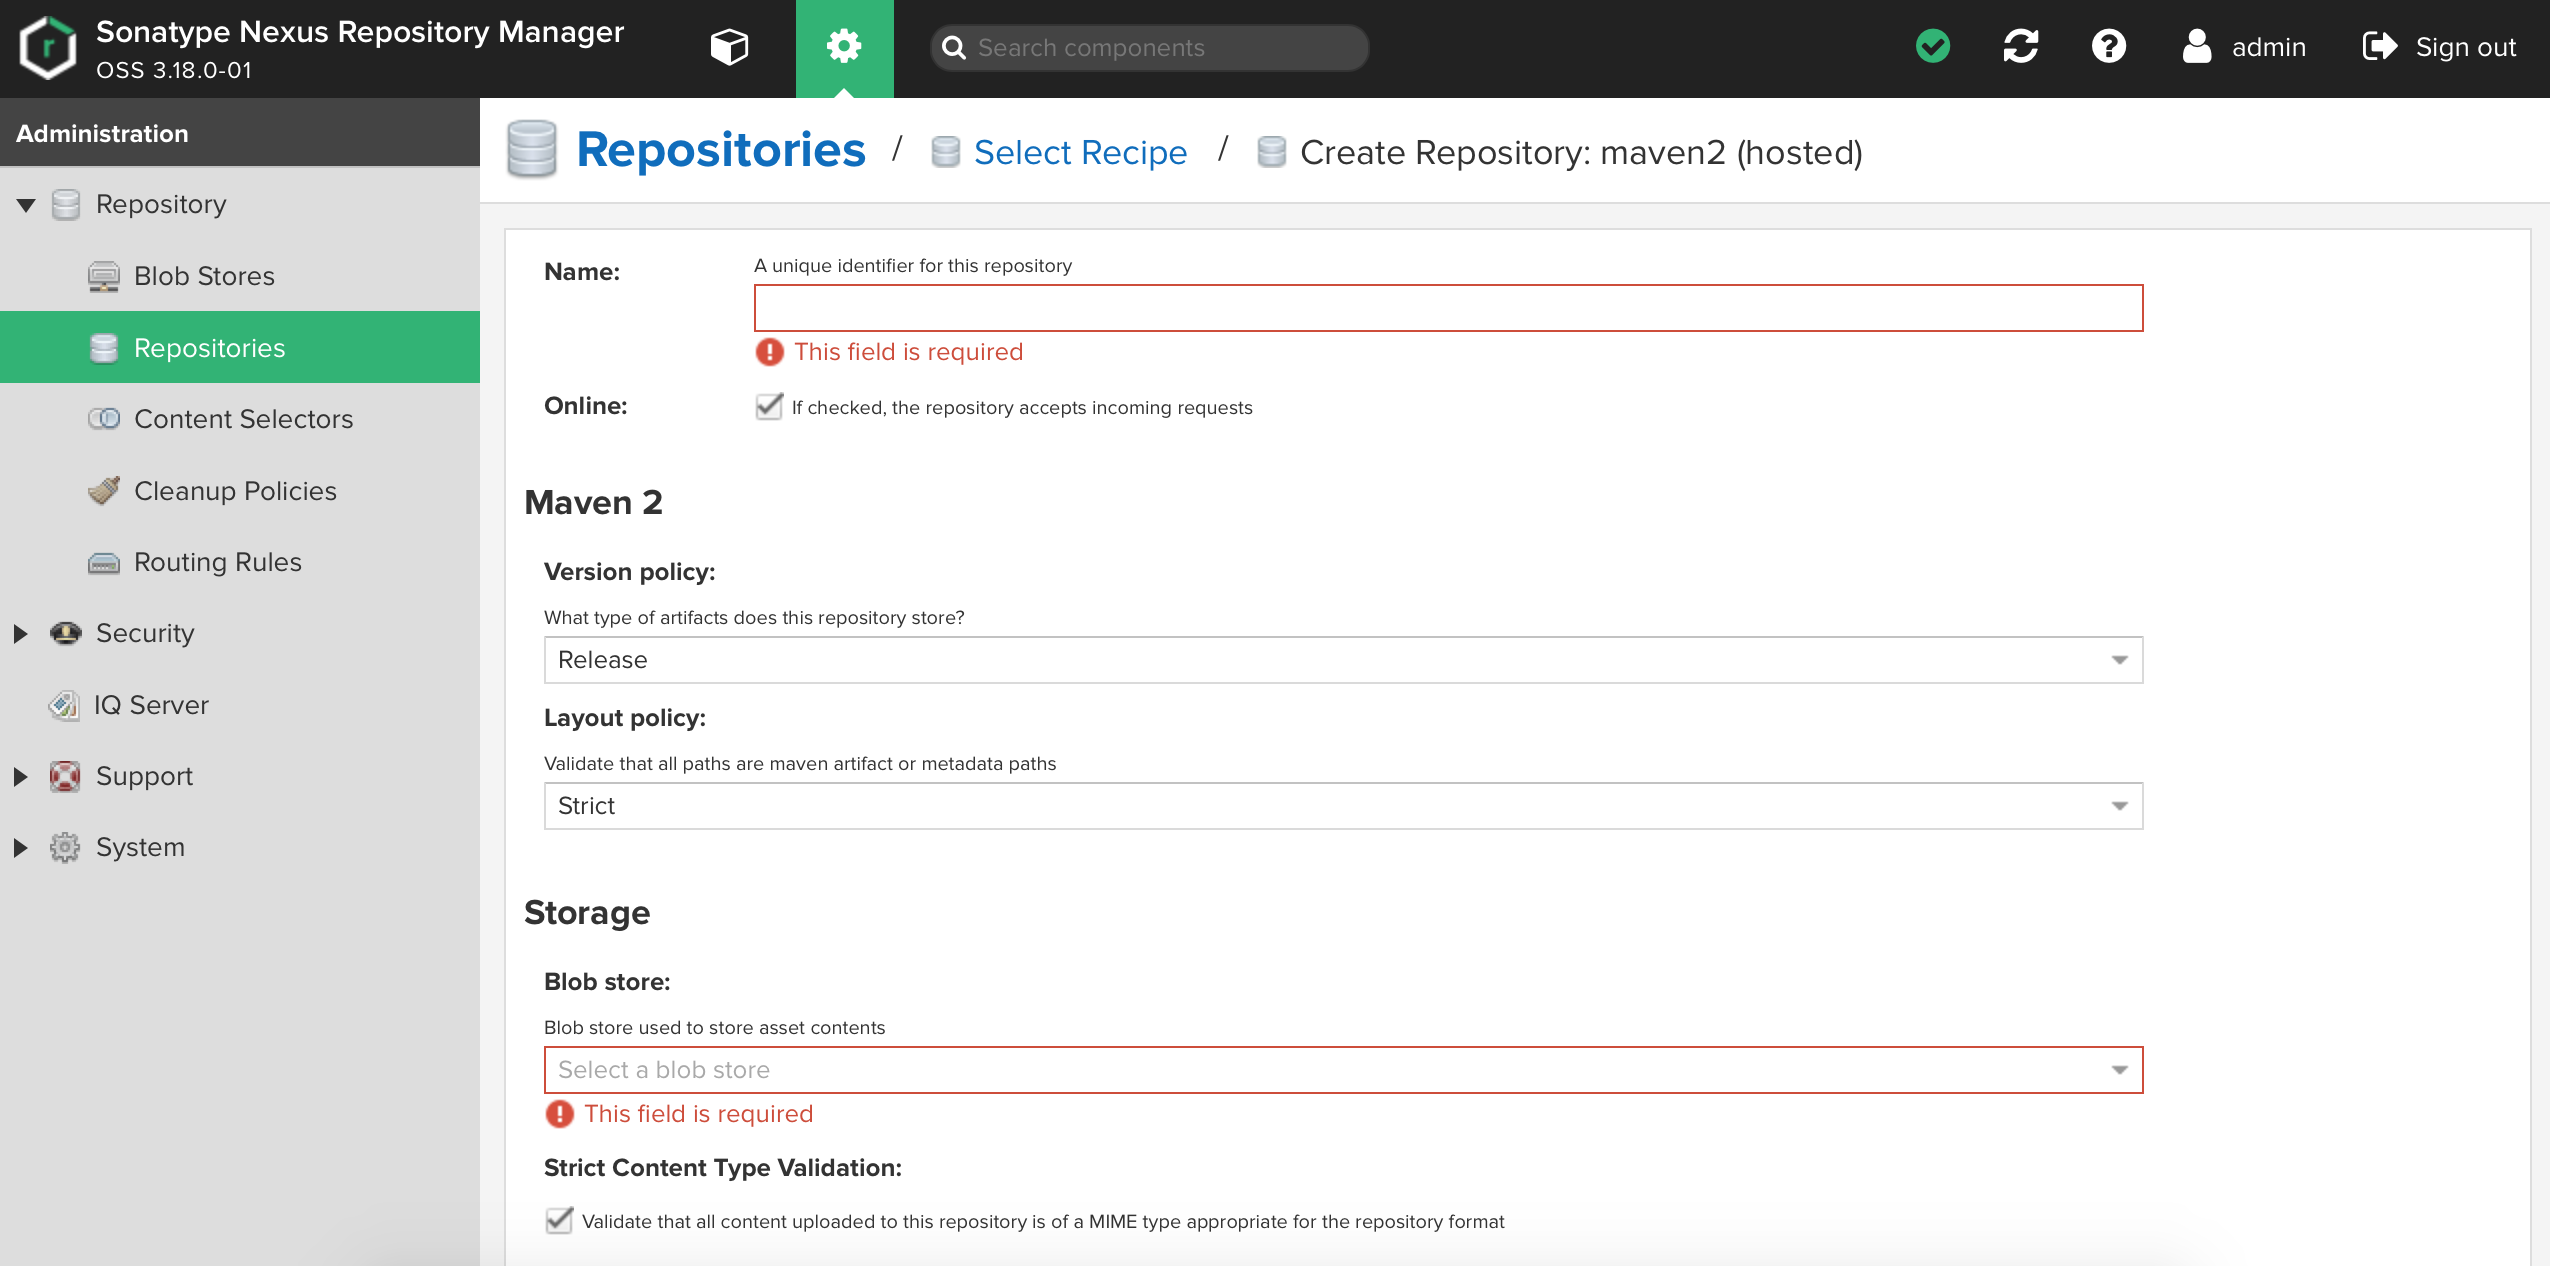
Here are the fields to configure for both the snapshots and releases repositories.
Name: nexus-repositories-snapshots
Version policy: Snapshot
Blob store: nexus-repositories-snapshots
Name: nexus-repositories-releases
Version policy: Release
Blob store: nexus-repositories-releases
You can also define the following properties for your repository:
-
Strict Content Type Validation:
Validate that all content uploaded to this repository is of a MIME type appropriate for the repository format:yes|no
-
Deployment policy:
Controls if deployments of and updates to artifacts are allowed
Deployment policy:Disable redeploy|Allow redeploy|Read-only
- Click the "
-
Configure the "pom.xml" file of your project.
Add (or modify) the "distributionManagement" element to configure the nexus repositories (Snapshots and Releases):
$ cd /data/workspace/mtitek-nexus-test-a/

$ vi pom.xml
<distributionManagement>
    <snapshotRepository>
        <id>httpNexusSnapshots</id>
        <name>Snapshots repository</name>
        <url>http://localhost:8081/repository/nexus-repositories-snapshots/</url>
    </snapshotRepository>

    <repository>
        <id>httpNexusReleases</id>
        <name>Releases repository</name>
        <url>http://localhost:8081/repository/nexus-repositories-releases/</url>
    </repository>
</distributionManagement>
-
Deploy your project:
mvn deploy
- Create folders for the "snapshots" and "releases" repositories: